Information
Introducing the UPC 400
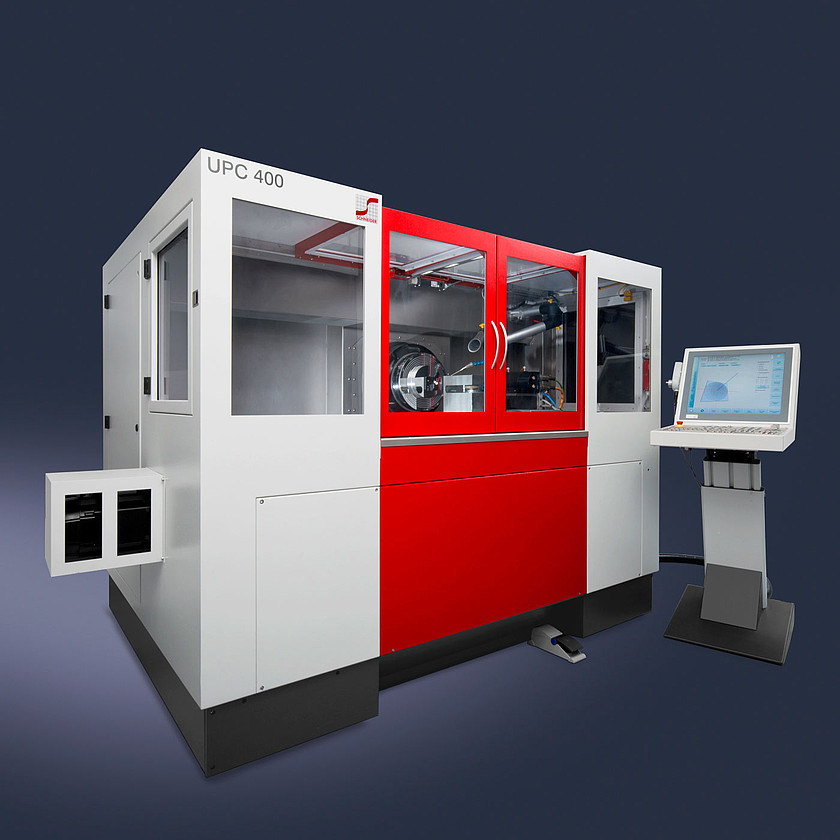
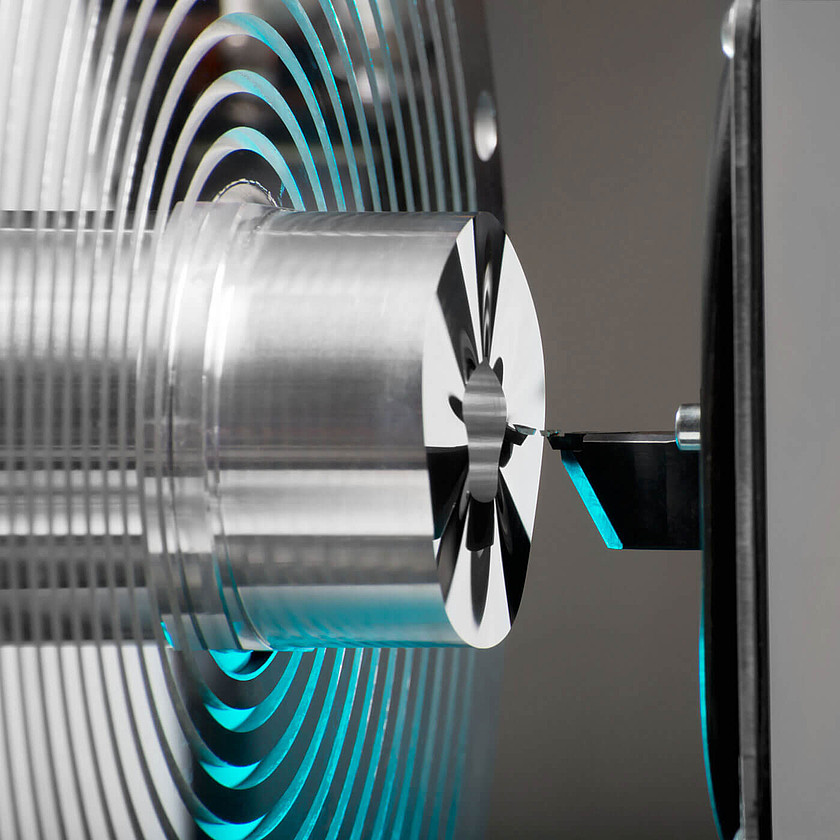
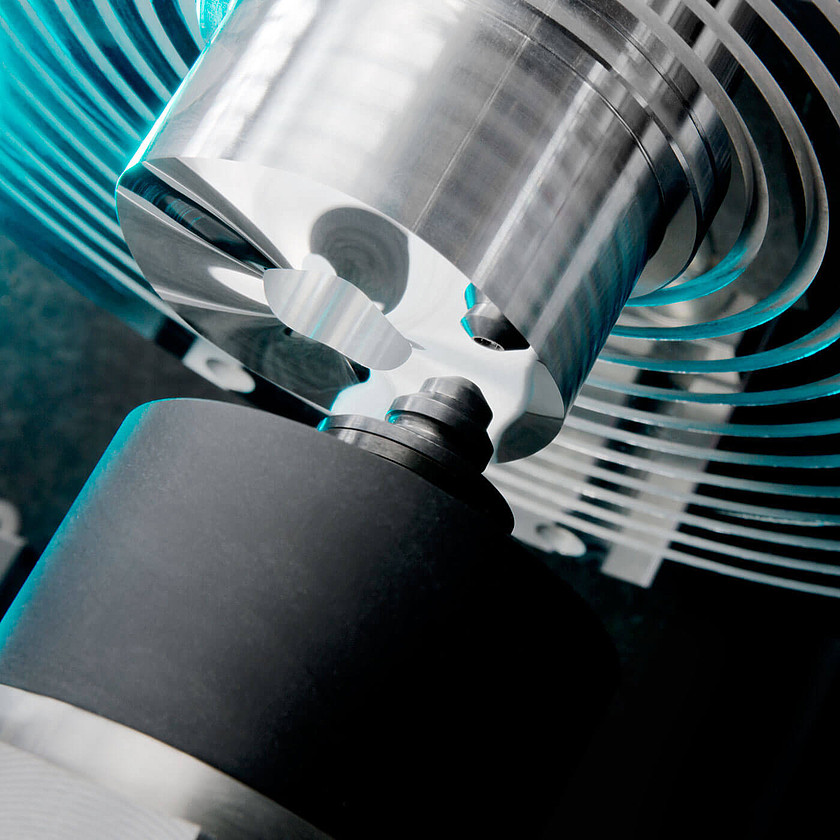
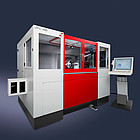
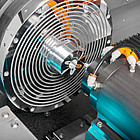
The pioneering UPC 400 represents the new, flexible process for fabricating ultraprecise freeform surfaces with excellent form accuracy and highest throughput.
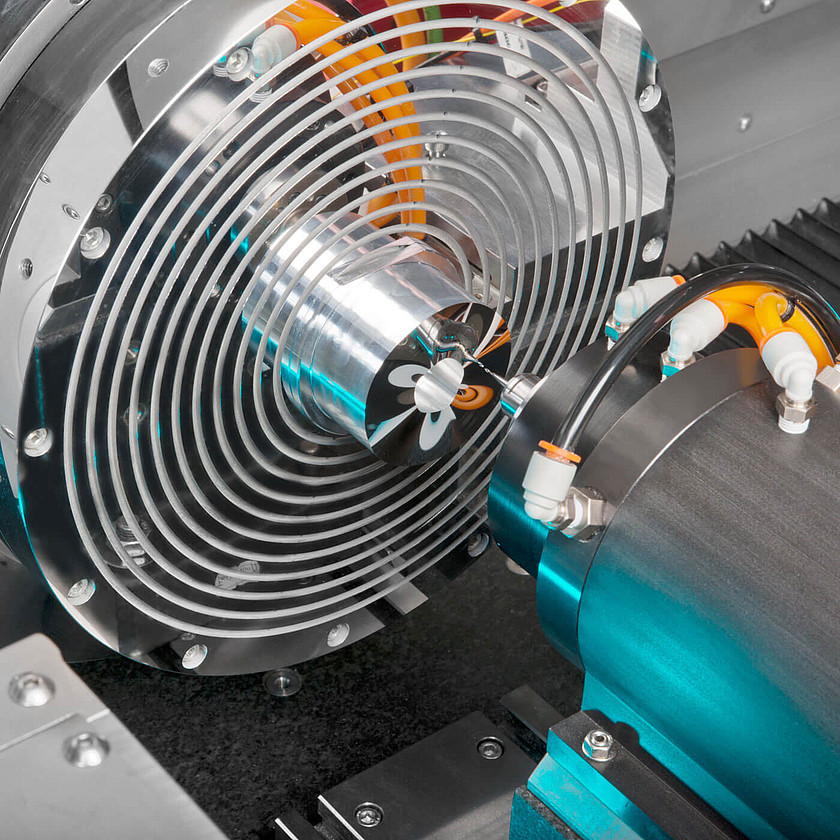
The UPC 400 is designed as a perfect symbiosis between production and measurement equipment. All the essential processes for freeform machining including material processing, metrology and data handling are integrated onto a single machine platform. With a single clamping setup, the complete manufacturing and measurement procedure can be done for optics up to 400 mm in diameter.
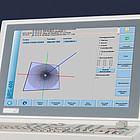
The new software combines advanced data handling with a simple user friendly interface. Following SCHNEIDER’s single-source-data handling, only a single data file is needed for machining and measurement. This eliminates the need for multiple conversions steps that usually distorts the data.
Solid design, great performance
On top of a solid granite base the UPC 400 combines linear direct drives, aerostatic spindle technology, and hydrostatic guide ways. The rigid machine platform significantly minimizes vibrational effects.
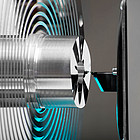
The UPC 400 is designed with a new and innovative kinematics concept in combination with a unique x-axes slide design to achieve high precision. The UPC 400 comes with three up to five axes. The dynamic Z-axis carries the work piece spindle (C-axis) for slow tool machining. The x-axis slide carries the fast tool, fixed diamond tool, milling, metrology, and the optional B-axis.
Integrated Measurement
The UPC 400 is the first ultra-precision machine equipped with a full-area freeform measurement system. An integrated 2λ heterodyne interferometer with an extremely high measurement frequency provides fast, accurate measurements (other systems are integrable).
The onboard measurement system allows direct measurements on the UPC 400 avoiding the need for external measurement equipment. This leads to time savings and eliminates reclamping errors. The measurement data is used to automatically create a new NC program for correcting the surfaces. Repeatable errors such as deviations in the tool radius are compensated – thereby improving the overall surface accuracy.
Best throughput, highest productivity
The UPC 400 is designed to reach both goals at the same time: best quality and highest throughput in ultra-precision machining. The UPC 400 utilizes a unique motion control system which combines an industry proven PC-based control with highest clock rate digital drives for all axes. The data rate for freeform machining is significantly faster than today´s market standard.
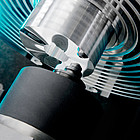
The new fast tool reaches extremely high acceleration rates due to its low moving mass and superior control technology. Through the long stroke of the fast tool, even surfaces with large non-rotationally symmetric components can now be processed fast, precisely, without the use of a slow tool.
As a result, the UPC 400 reaches a significantly higher productivity and throughput than other machines in the market.
Highest data performance
The UPC 400 utilizes innovative, built in data handling capabilities to drive the machining, metrology, and corrective re-machining processes.
The freeform surfaces are expressed using NURBS. After the surface is designed, the NURBS data can be directly imported to the UPC 400 and subsequent NC programs are generated for both machining and measurement. Only a single set of data is needed for all operations. This eliminates data conversion between process steps for machining and metrology which can distort the data and cause increased surface figure errors. The UPC 400 also supports other data formats besides NURBS.
Great Modularity
The unique platform of the UPC 400 allows modular configuration with processes like fast tool or slow tool machining, milling, grinding, fly-cutting or integrated measuring. A simple user interface, improved data handling, 3D surface visualization, automated tool path analysis, and avoidance of multiple data conversions significantly improve the ease-of-use of the UPC 400. A constant high level of manufacturing quality and efficiency is secured. With the set up of two fast tools for roughing and finishing, today´s common problem of manually changing the tools within one manufacturing process is avoided.
The UPC 400 is the optimal choice for manufacturing freeform optics that enable more compact and efficient imaging and non-imaging systems in the aerospace, automotive, sensor technology, LED lighting, consumer electronics, and head-up displays industries. Prototyping or small series production as well as mold manufacturing for replication processes is easily accomplished on the UPC 400.
Benefits
- Highest precision freeform machining
- Integrated high-quality optical metrology
- Maximum data accuracy via singlesource data handling
- Highest productivity and throughput
- Machining and measuring in only one clamping setup
- Large work piece capability up to 400 mm
- Unique, modular platform
- Increased machining freedom via rotary table
Technical Data
work piece Ø
max. 400 mm
axes
X, Z, C, optional B, ZF
linear axes
X-axis: 740 mm (hydrostatic)
Z-axis: 170 mm (hydrostatic)
axes straightness
X-, Z-axis: < 0,1 μm /100 mm
fast tool
ZF-axis: 30 mm (aerostatic)
spindles
C-axis (low-resolution): 9300 rpm (aerostatic)
C-axis (high-resolution): 2500 rpm (aerostatic)
milling: 60000 rpm (aerostatic)
machine base
natural granite
power consumption
5 kVA avg.
air requirement
min. 8 bar (116 psi)
machine weight
approx. 5500 kg (12125 lb.)
dimensions without electrical cabinet (width x depth x height)
approx. 2150 x 1700 x 1700 mm (85 x 67 x 67 inches)
All data subject to change without notice. Please verify details with SCHNEIDER.


